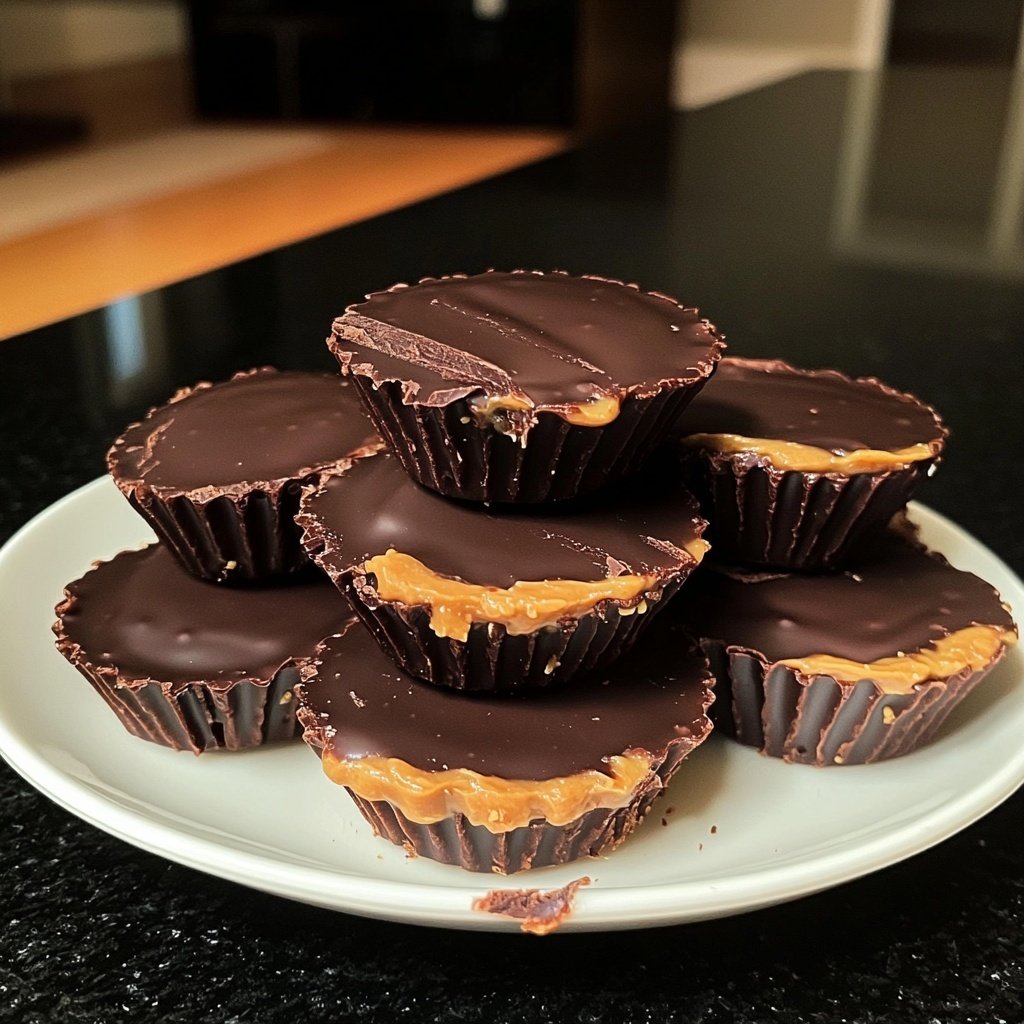
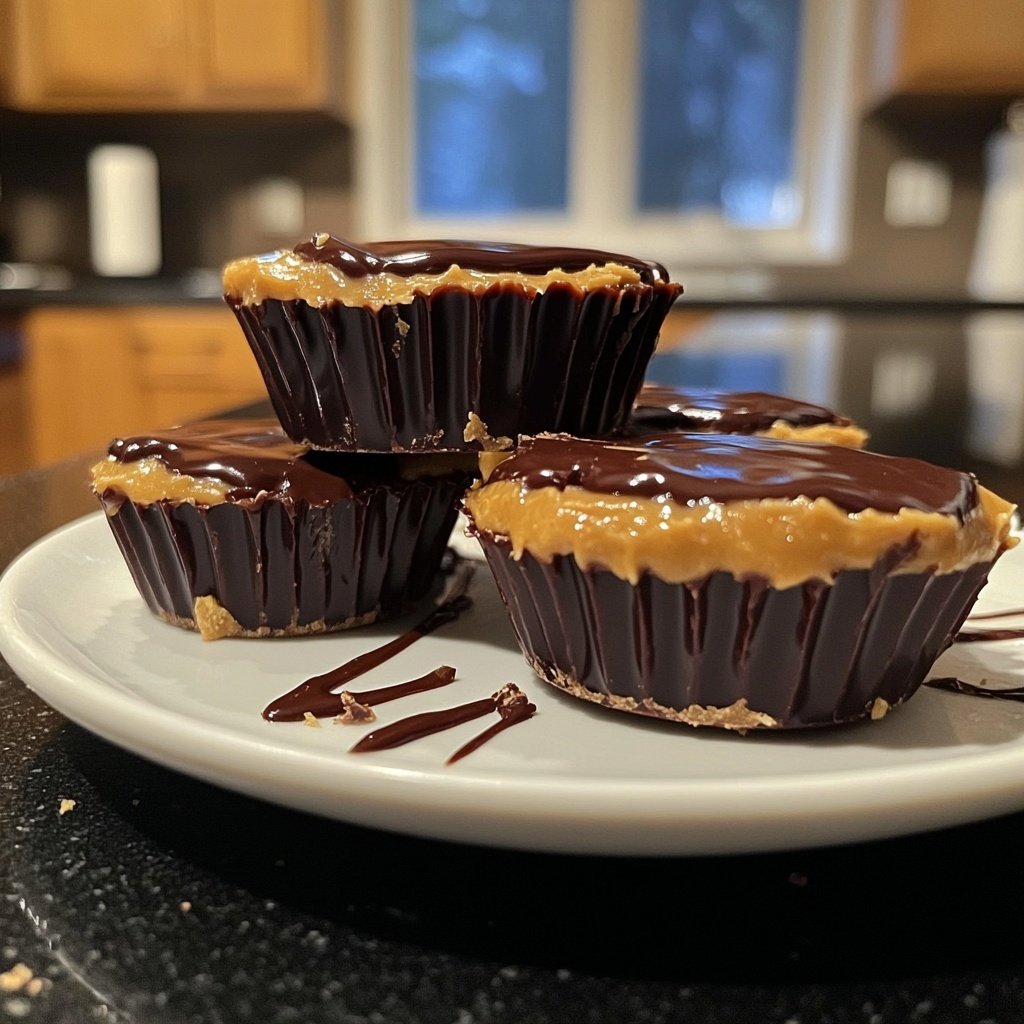
Homemade Peanut Butter Cups with Coconut Oil
Uitgelicht onder: Dagelijkse bakrecepten
I absolutely love making these Homemade Peanut Butter Cups with Coconut Oil because they strike the perfect balance between indulgence and health. Not only are they easy to whip up, but they also incorporate the rich flavor of natural peanut butter and the smooth texture of coconut oil. Treating myself to this peanut buttery delight is always a joy, and knowing that I can control the ingredients and sweetness level makes it even better. These are perfect for satisfying my sweet tooth without the guilt!
When I first tried making my own peanut butter cups, I was amazed by how simple and fun it was! The combination of melted chocolate and creamy peanut butter really takes me back to my childhood. One tip I learned along the way is to ensure your coconut oil is melted but not too hot; this helps achieve a perfect layer of chocolate without compromising the texture.
What I love most is that you can customize these cups. I’ve experimented with adding nuts and even a sprinkle of sea salt for an extra pop of flavor. Each batch turns out unique, and they disappear so quickly at gatherings!
Why You'll Love This Recipe
- Decadent layers of chocolate and creamy peanut butter
- Healthier alternative with coconut oil instead of butter
- Customizable with various add-ins like nuts or sea salt
The Importance of Quality Ingredients
Using high-quality dark chocolate chips is vital in achieving that luscious, rich flavor for these peanut butter cups. A chocolate with at least 70% cocoa content not only provides a deep, satisfying taste but also balances the sweetness of the peanut butter layer. Additionally, a quality natural peanut butter without added sugars or oils enhances the overall health aspect of this treat. Remember, the better the ingredients, the better the final product will taste.
Coconut oil plays a dual role in this recipe, adding smoothness to the chocolate while also keeping it slightly softer than butter, making the cups delightful to bite into. Its tropical essence subtly enhances the overall flavor profile. If you’re looking for a nut-free alternative, consider using sunflower seed butter, which behaves similarly in texture and taste, allowing you to enjoy this recipe without compromising on quality.
Assembly Tips for Perfect Peanut Butter Cups
When it comes to layering your peanut butter cups, patience is key. After pouring the first layer of chocolate, make sure it is completely set in the freezer—about 5 minutes should suffice. Pouring the peanut butter layer onto warm chocolate can lead to a melted mess, diminishing the distinct layers you want. A quick check of the chocolate's firmness can be done by gently nudging it; it should be firm but not frozen solid.
To prevent mess when adding the top chocolate layer, use a spoon to gently pour over the peanut butter layer, allowing it to flow and create a smooth finish. Make sure the final layer fully covers the peanut butter; a good seal ensures the layers remain distinct and helps prevent any air pockets that may affect the texture as it sets.
Ingrediënten
Gather your ingredients before starting to streamline the process!
For the chocolate layer
- 1 cup dark chocolate chips
- 2 tablespoons coconut oil
For the peanut butter layer
- 3/4 cup natural peanut butter
- 3 tablespoons honey or maple syrup
- 1 teaspoon vanilla extract
Make sure to use high-quality chocolate for the best flavor!
Bereidingswijze
Follow these steps for a delicious homemade treat!
Melt the chocolate
In a microwave-safe bowl, combine the dark chocolate chips and coconut oil. Heat in the microwave in 30-second intervals, stirring between each until fully melted and smooth.
Prepare the molds
Line a muffin tin with paper liners. Use a spoon to pour a small amount of melted chocolate into each liner, covering the bottom. Place in the freezer for about 5 minutes to set.
Mix the peanut butter layer
In a mixing bowl, combine the natural peanut butter, honey or maple syrup, and vanilla extract. Stir until fully combined and creamy.
Assemble the cups
Once the chocolate layer has set, remove the muffin tin from the freezer. Add a spoonful of the peanut butter mixture on top of the chocolate layer in each cup.
Top with more chocolate
Pour the remaining melted chocolate over the peanut butter layer, ensuring it is fully covered. Return to the freezer for another 10 minutes until set.
Enjoy your delicious homemade treats!
Professionele Tips
- Feel free to substitute almond butter for a different flavor, or try adding some crushed nuts for a crunchy texture.
Storing Your Peanut Butter Cups
After setting, you can store these Homemade Peanut Butter Cups in an airtight container in the fridge for up to two weeks. Refrigeration maintains their texture and prevents the chocolate from becoming too soft, especially in warmer climates. If you’d prefer a firmer bite, you can freeze them, where they will keep well for about two months. Just make sure to separate layers with parchment paper to prevent sticking.
If you plan to serve them later, consider slicing a batch into bite-sized pieces before freezing. This way, you'll have a fun snack ready at a moment's notice, perfect for satisfying your sweet cravings without needing to thaw an entire cup. Just remember to let them sit at room temperature for a few minutes before enjoying for the best texture.
Creative Variations to Try
Once you've mastered the basic recipe, the sky's the limit for variations! Add chopped nuts, such as almonds or pecans, to the peanut butter layer for extra crunch and flavor. You can also experiment with different sweeteners; for a sugar-free option, try using stevia or erythritol. These alternatives are great for those watching their sugar intake while still allowing you to enjoy a decadent treat.
Consider infusing the chocolate layer with spices like cinnamon or a pinch of sea salt for a sweet and salty combination. If you're feeling adventurous, add a layer of fruit—like sliced strawberries or banana—between the chocolate and peanut butter layers for a refreshing twist that balances the richness of the cups.
Vragen Over Recepten
→ Can I use milk chocolate instead of dark chocolate?
Yes, you can use milk chocolate if you prefer a sweeter taste!
→ How do I store the peanut butter cups?
Store them in an airtight container in the fridge for up to two weeks.
→ Can I freeze these cups?
Absolutely! They freeze well and can be stored for up to two months.
→ What can I use instead of honey?
You can use maple syrup or agave syrup as a vegan alternative.
Homemade Peanut Butter Cups with Coconut Oil
Gemaakt door: Kate Phillips
Recepttype: Dagelijkse bakrecepten
Vaardigheidsniveau: Beginner
Eindportie: 12 cups
Wat je Nodig Hebt
For the chocolate layer
- 1 cup dark chocolate chips
- 2 tablespoons coconut oil
For the peanut butter layer
- 3/4 cup natural peanut butter
- 3 tablespoons honey or maple syrup
- 1 teaspoon vanilla extract
Stappen
In a microwave-safe bowl, combine the dark chocolate chips and coconut oil. Heat in the microwave in 30-second intervals, stirring between each until fully melted and smooth.
Line a muffin tin with paper liners. Use a spoon to pour a small amount of melted chocolate into each liner, covering the bottom. Place in the freezer for about 5 minutes to set.
In a mixing bowl, combine the natural peanut butter, honey or maple syrup, and vanilla extract. Stir until fully combined and creamy.
Once the chocolate layer has set, remove the muffin tin from the freezer. Add a spoonful of the peanut butter mixture on top of the chocolate layer in each cup.
Pour the remaining melted chocolate over the peanut butter layer, ensuring it is fully covered. Return to the freezer for another 10 minutes until set.
Extra Tips
- Feel free to substitute almond butter for a different flavor, or try adding some crushed nuts for a crunchy texture.
Voedingswaarde (Per Portie)
- Calories: 200 kcal
- Total Fat: 15g
- Saturated Fat: 6g
- Cholesterol: 0mg
- Sodium: 50mg
- Total Carbohydrates: 18g
- Dietary Fiber: 2g
- Sugars: 10g
- Protein: 4g