Valentines Treats Mini Lemon Tarts
Uitgelicht onder: Dagelijkse bakrecepten
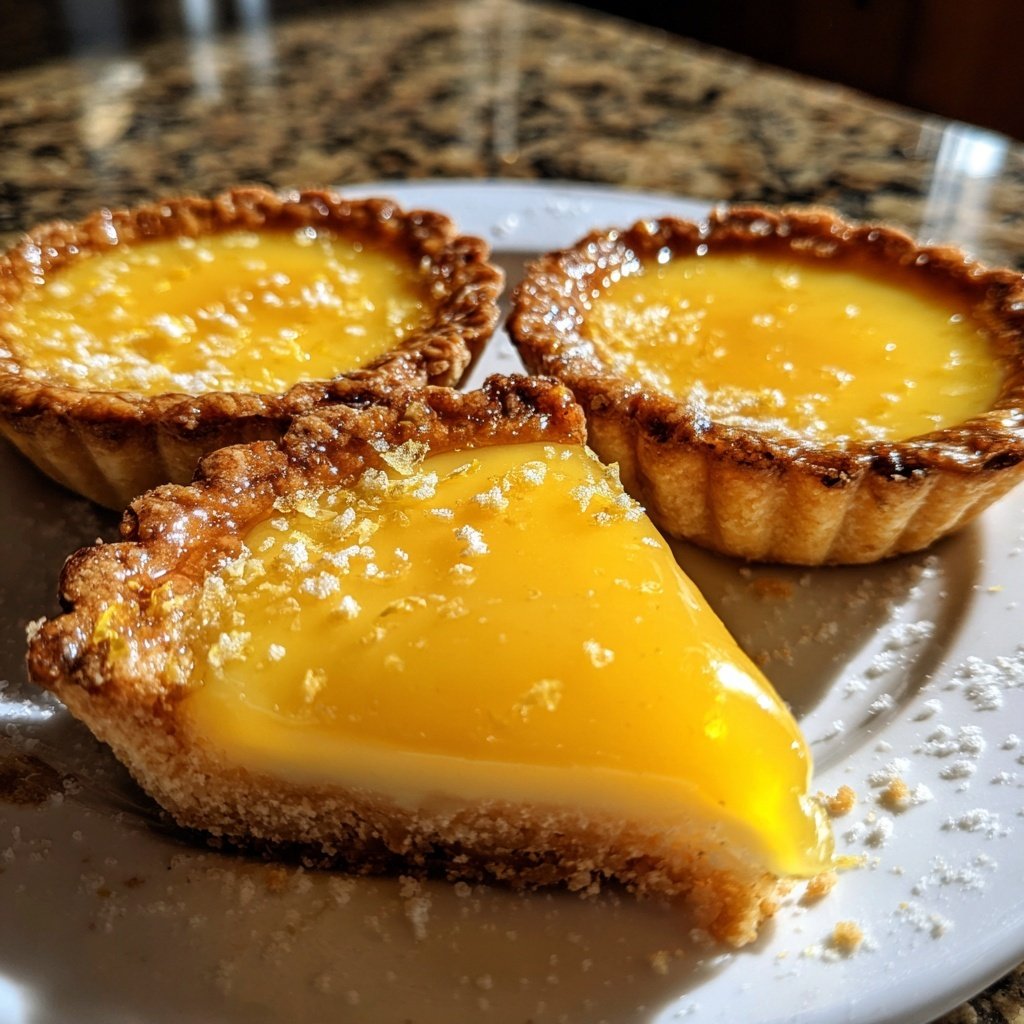
I adore making these Mini Lemon Tarts for Valentine's Day, as they are the perfect blend of sweet and tart. The crisp, buttery shell gives way to a luscious lemon filling that is simply irresistible. Each bite feels like a refreshment in the middle of winter, and they are so easy to prepare. Plus, the vibrant yellow color adds a cheerful touch to any celebration. As we gather around with loved ones, I find that these little delights become the stars of the dessert table, quickly disappearing and leaving everyone wanting more.
When I first tried my hand at these tarts, I was amazed by how a few simple ingredients could create such delight. The combination of fresh lemon juice and zest gives the filling a brightness that dances on your palate. I learned that letting the tarts chill for a bit after baking really helps the flavors to meld together beautifully, creating a creamy filling that isn't overly sweet.
One of my favorite tricks is to sprinkle a little powdered sugar on top right before serving. This not only adds a touch of elegance but also balances the tartness of the lemon. Sharing these with friends and family always fills my heart with joy, especially when they come back for seconds!
Why You'll Love This Recipe
- Bright, zesty lemon flavor that's refreshing and uplifting
- Delicate, flaky crust that perfectly complements the filling
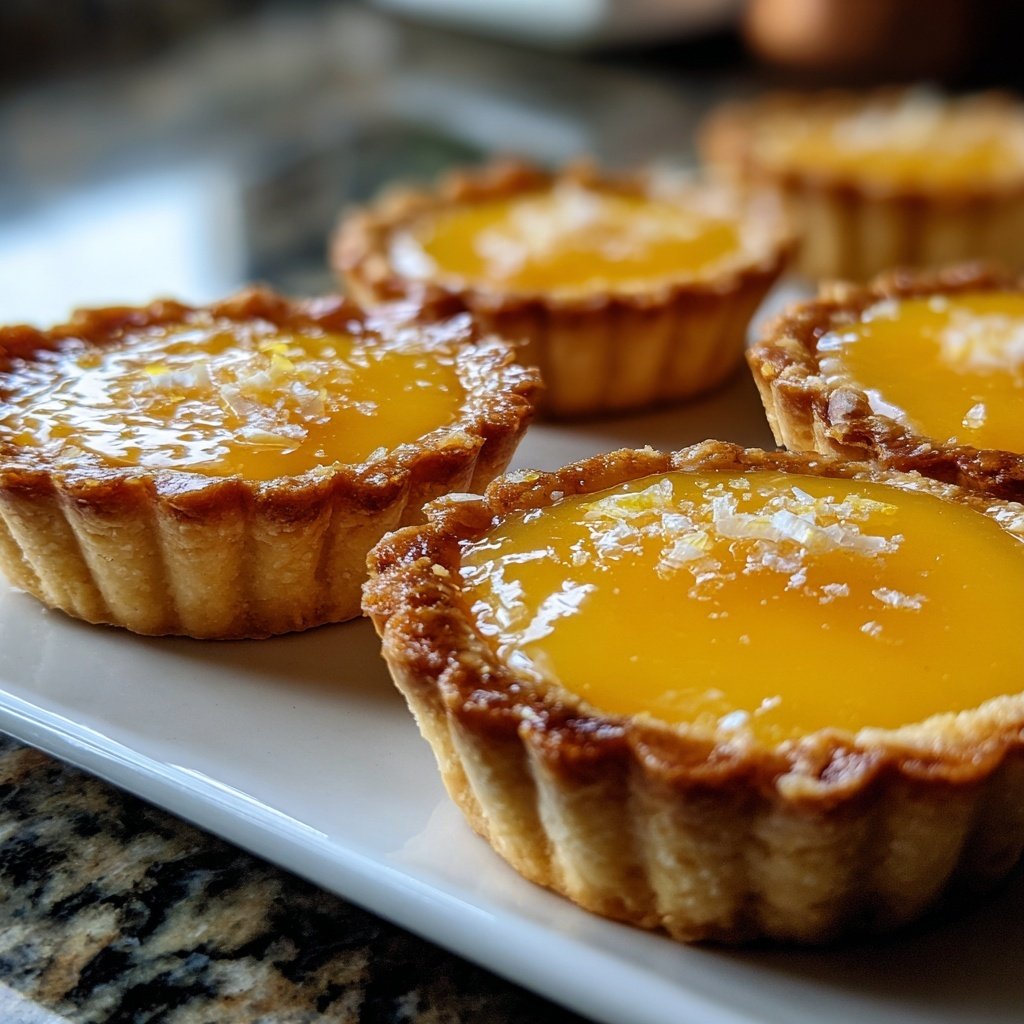
- Beautifully presented mini tarts that impress your guests
The Importance of Chilling the Crust
Chilling the crust is a crucial step that contributes to a flaky texture. When you mix the cold, cubed butter with the flour and sugar, the butter should remain cold until it hits the oven. This is key to preventing the fat from fully integrating into the flour, allowing steam to create layers. If you skip this step, your tarts may turn out dense instead of light and flaky.
Make sure to press the dough into the tart pan gently. Overworking the dough can develop gluten, resulting in a tougher crust. After pressing it in, a quick chill in the refrigerator for 15 minutes ensures that the shapes hold their form while baking, allowing for clean edges after they are baked.
Perfecting the Lemon Filling
The lemon filling strikes a balance between sweet and tart that truly defines this dessert. Freshly squeezed lemon juice is non-negotiable; bottled juice lacks the brightness and complexity. The addition of lemon zest amplifies the flavor, giving it a fragrant aroma that enhances the overall experience. Make sure to whisk the eggs until smooth to avoid any curdling during baking.
When adding the heavy cream, incorporate it gradually. This gentle approach helps maintain the smooth consistency of the filling. If you happen to see air bubbles in the mixture, you can let it sit for a few minutes before pouring it into the crust, which allows those bubbles to rise, resulting in a silky finish.
Ingredients
For the crust
- 1 1/2 cups all-purpose flour
- 1/2 cup powdered sugar
- 1/2 cup unsalted butter, cold and cubed
- 1/4 teaspoon salt
- 1 egg yolk
For the filling
- 1/2 cup granulated sugar
- 1/4 cup fresh lemon juice
- 1 tablespoon lemon zest
- 3 large eggs
- 1/4 cup heavy cream
Instructions
Make the crust
In a large bowl, combine flour, powdered sugar, and salt. Add the cold, cubed butter and mix until the mixture resembles coarse crumbs. Stir in the egg yolk until the dough comes together. Press the dough into a greased mini tart pan. Prick the bottoms with a fork and chill for 15 minutes.
Pre-bake the crust
Preheat the oven to 350°F (175°C). Bake the chilled crust for about 12-15 minutes until slightly golden. Allow to cool.
Prepare the filling
In a medium bowl, whisk together the sugar, lemon juice, lemon zest, and eggs until smooth. Gradually whisk in the heavy cream until fully combined.
Fill and bake
Pour the filling into the cooled crusts, filling them about 3/4 full. Bake for an additional 12-15 minutes until the filling is set but still slightly jiggly. Let cool completely then refrigerate.
Serve
Just before serving, dust the tarts with powdered sugar and enjoy!
Professionele Tips
- For an extra burst of flavor, feel free to add a splash of vanilla extract to the filling. Also, consider garnishing with fresh berries for a colorful presentation.
Serving Suggestions
These Mini Lemon Tarts are as visually appealing as they are delicious. To elevate their presentation, consider garnishing them with fresh berries or a sprig of mint. A dollop of whipped cream on top can also add an extra layer of indulgence. Serve them on a platter with drizzle of lemon glaze for an eye-catching touch.
For a touch of elegance, you can dust the tarts with powdered sugar right before serving. This adds contrast to the vibrant yellows and creates a beautiful finish that will impress your guests. These tarts can also be paired with a light herbal tea, providing a refreshing complement to the zesty flavors.
Make-Ahead and Storage Tips
If you're preparing for a gathering, these tarts can be made ahead of time. You can bake the crust up to two days in advance and store it in an airtight container at room temperature. The filling can be prepared a day ahead and kept in the refrigerator. Just fill the tarts just before serving to maintain the crust's crispness.
Should you have any leftovers, store them in the fridge for up to three days. However, for the best texture, consume them within the first day or two as the crust may soften due to moisture in the filling. If you’re feeling adventurous, consider freezing the unbaked crusts; just let them thaw in the refrigerator before filling and baking them fresh.
Vragen Over Recepten
→ Can I use store-bought crust?
Absolutely! Store-bought pastry shells can save time and still provide a delicious base for your lemon tarts.
→ How long do these tarts last?
These mini tarts can be stored in the refrigerator for up to 3 days. Just sprinkle powdered sugar right before serving to keep them looking fresh.
→ Can I substitute other citrus fruits?
Yes! You can easily substitute lime or orange juice and zest for a different flavor profile.
→ Is there a vegan alternative for the filling?
Yes! You can use silken tofu blended with lemon juice and zest as a vegan substitute for the cream and eggs.
Valentines Treats Mini Lemon Tarts
Gemaakt door: Kate Phillips
Recepttype: Dagelijkse bakrecepten
Vaardigheidsniveau: Intermediate
Eindportie: 12.0
Wat je Nodig Hebt
For the crust
- 1 1/2 cups all-purpose flour
- 1/2 cup powdered sugar
- 1/2 cup unsalted butter, cold and cubed
- 1/4 teaspoon salt
- 1 egg yolk
For the filling
- 1/2 cup granulated sugar
- 1/4 cup fresh lemon juice
- 1 tablespoon lemon zest
- 3 large eggs
- 1/4 cup heavy cream
Stappen
In a large bowl, combine flour, powdered sugar, and salt. Add the cold, cubed butter and mix until the mixture resembles coarse crumbs. Stir in the egg yolk until the dough comes together. Press the dough into a greased mini tart pan. Prick the bottoms with a fork and chill for 15 minutes.
Preheat the oven to 350°F (175°C). Bake the chilled crust for about 12-15 minutes until slightly golden. Allow to cool.
In a medium bowl, whisk together the sugar, lemon juice, lemon zest, and eggs until smooth. Gradually whisk in the heavy cream until fully combined.
Pour the filling into the cooled crusts, filling them about 3/4 full. Bake for an additional 12-15 minutes until the filling is set but still slightly jiggly. Let cool completely then refrigerate.
Just before serving, dust the tarts with powdered sugar and enjoy!
Extra Tips
- For an extra burst of flavor, feel free to add a splash of vanilla extract to the filling. Also, consider garnishing with fresh berries for a colorful presentation.
Voedingswaarde (Per Portie)
- Calories: 280 kcal
- Total Fat: 18g
- Saturated Fat: 11g
- Cholesterol: 70mg
- Sodium: 115mg
- Total Carbohydrates: 30g
- Dietary Fiber: 1g
- Sugars: 16g
- Protein: 3g