Chocolate Mint Slice Bars
Uitgelicht onder: Dagelijkse bakrecepten
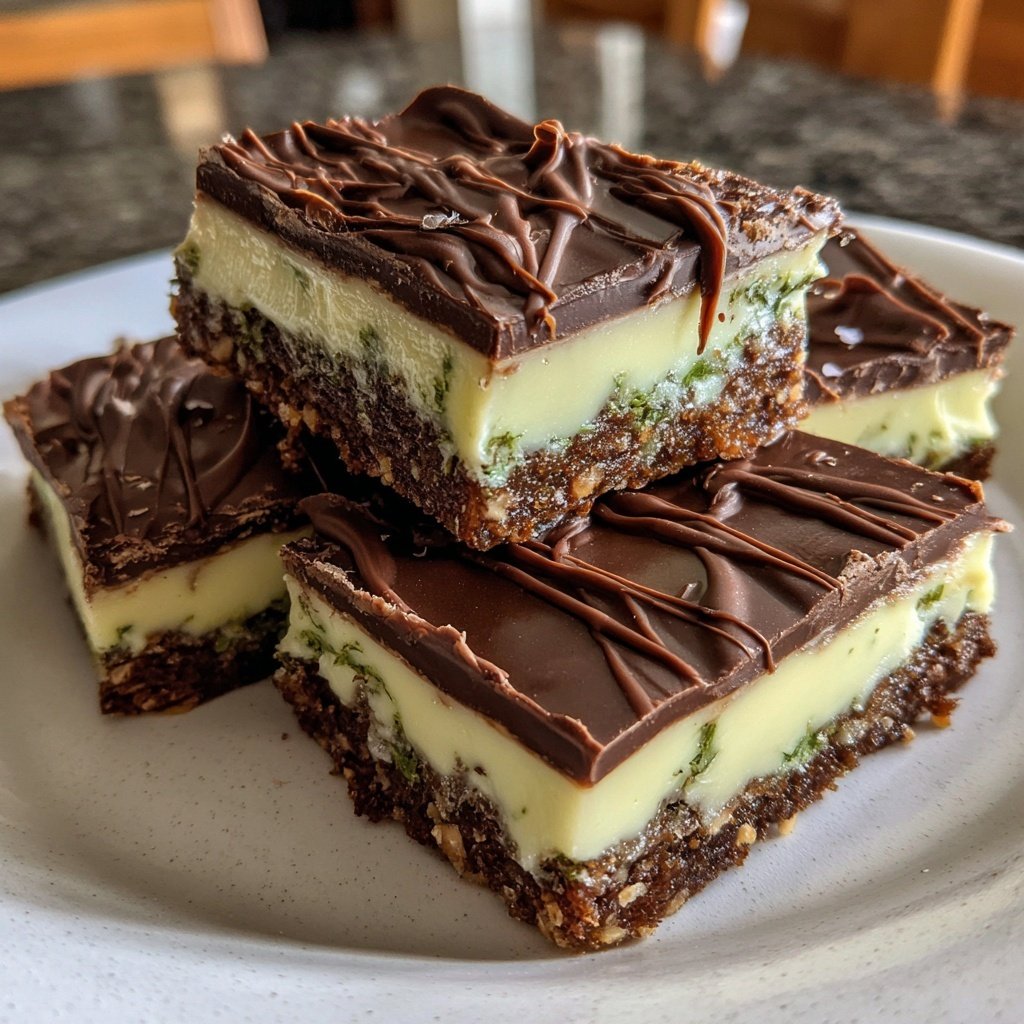
I absolutely love making Chocolate Mint Slice Bars because they bring together rich chocolate and refreshing mint in the most delightful way. The layers of chocolate and creamy mint filling create a perfect balance that always impresses my friends and family. I enjoy making these bars for special occasions, as they're simple to prepare yet look stunning on any dessert table. With just a handful of ingredients and a little patience, you can create a treat that everyone will rave about. Let’s dive into making these delicious bars!
After several attempts tinkering with different recipes, I found that adding a touch of peppermint extract truly enhances the flavor profile of these Chocolate Mint Slice Bars. The combination of dark chocolate and creamy mint filling creates a rich yet refreshing treat that feels so indulgent. I love to cut them into small squares, making them easy to share during gatherings.
One of my best tips is to let the bars chill in the fridge for a bit after cutting them; this firms up the filling and makes them easier to handle. You can also experiment with different types of chocolate, such as using milk chocolate for a sweeter treat. Trust me; these bars will not last long once you serve them!
Why You Will Love This Recipe
- The perfect balance of rich chocolate and refreshing mint.
- A creamy layer that perfectly complements the chocolate crust.
- Easy to prepare, making them a great treat for any occasion.
Creating the Perfect Biscuit Base
The foundation of your Chocolate Mint Slice Bars begins with the biscuit base, which is crucial for achieving a crispy yet moist texture. Using digestive biscuits offers a subtle sweetness and a sturdy structure. When crushing the biscuits, aim for a fine crumb that can easily meld with the melted butter. This mixture should be pressed firmly into the baking pan; a flat-bottomed glass can help create an even layer. Remember, the biscuit base needs to chill for at least 10 minutes to set properly before layering the mint filling.
If you're feeling adventurous, you can substitute digestive biscuits with graham crackers or even Oreo cookies for a chocolatey twist. Keep in mind that this could alter the overall flavor slightly, so adjust your sweetness in the filling as needed. When preparing your pan, lining it with parchment paper not only helps with easy removal, but also allows you to achieve clean, professional-looking cuts when serving your bars.
Crafting the Mint Filling
The mint filling is the star of this recipe, and achieving the right consistency is key. Use full-fat sweetened condensed milk as it provides creaminess and stability to the filling. Mixing in powdered sugar not only sweetens the mixture but also helps achieve a thicker texture. When adding peppermint extract, start with a smaller amount and taste; some extracts can be quite potent. If you’re looking for natural color, consider using spirulina powder instead of green food coloring for a subtle hue and added nutritional benefits.
For those avoiding dairy, a great substitute for sweetened condensed milk is a coconut-based option or homemade cashew cream sweetened with maple syrup. These alternatives can provide a delightful flavor twist while keeping the bars vegan-friendly. If you love a less intense mint flavor, you can reduce the quantity of peppermint extract, ensuring that the filling still maintains its creamy essence against the rich chocolate.
Ingrediënten
Ingredients
Chocolate Mint Slice Bars
- 200g digestive biscuits, crushed
- 100g unsalted butter, melted
- 300g dark chocolate, chopped
- 1 cup sweetened condensed milk
- 1/2 cup powdered sugar
- 1 tsp peppermint extract
- Green food coloring (optional)
- Extra chocolate for drizzling
Instructions
Bereidingswijze
Steps
Prepare the Base
In a bowl, mix the crushed digestive biscuits with melted butter until well combined. Press this mixture into the bottom of a lined baking pan, creating a compact layer. Chill in the refrigerator for 10 minutes.
Make the Mint Filling
In a separate bowl, combine sweetened condensed milk, powdered sugar, peppermint extract, and green food coloring (if using). Mix until smooth, then spread the filling over the chilled biscuit base.
Finish with Chocolate
Melt the dark chocolate in a microwave or double boiler, then pour over the mint layer. Spread it evenly and chill again until set, about 20 minutes. Once set, drizzle with extra melted chocolate if desired.
Cut and Serve
Remove from the pan and cut into bars. Serve chilled and enjoy the refreshing taste of chocolate and mint.
Enjoy!
Professionele Tips
- For best results, ensure your ingredients are fresh and chill the bars properly before serving. You can substitute the butter with coconut oil for a dairy-free version.
Serving Suggestions
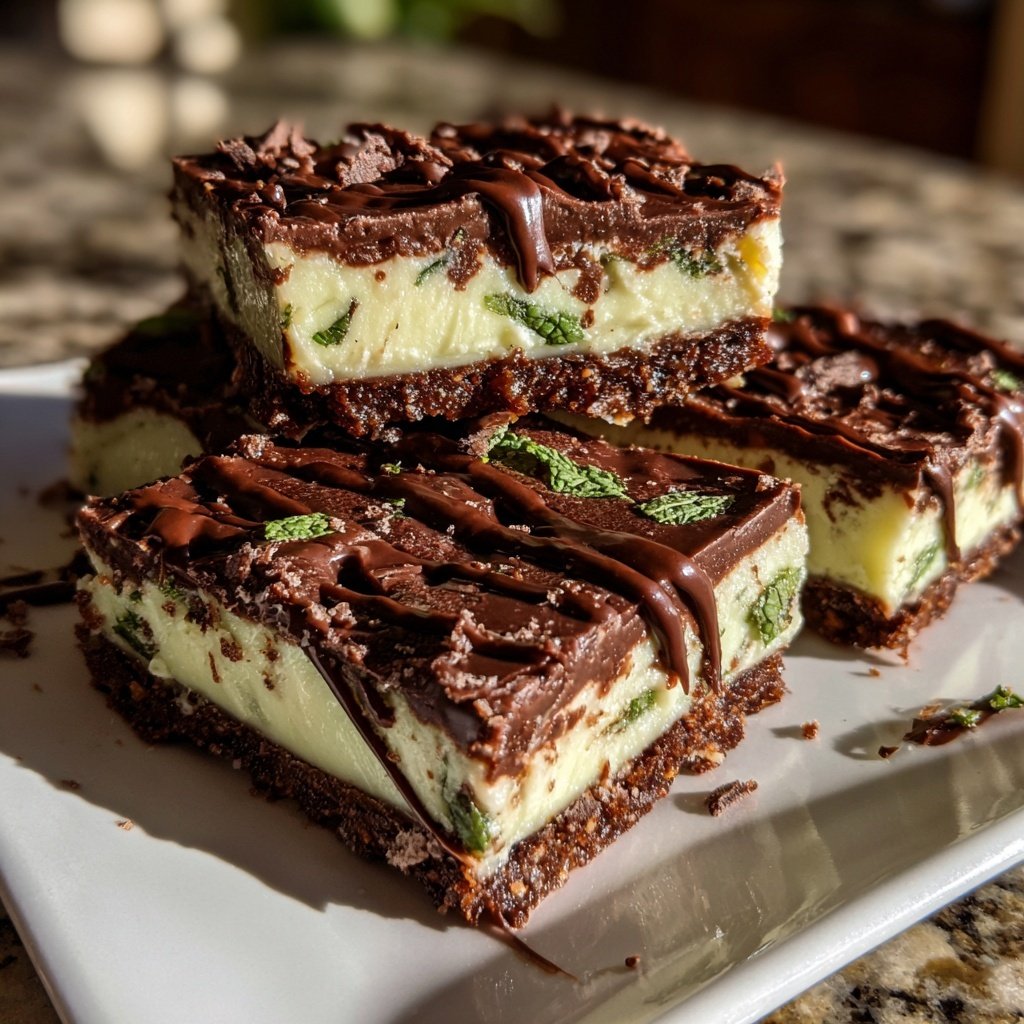
These Chocolate Mint Slice Bars can be served as they are, but for an extra touch, consider garnishing them with fresh mint leaves or a sprinkling of cocoa powder. You can also pair them with vanilla ice cream or whipped cream for an indulgent dessert option. For parties, cut the bars into bite-sized pieces to make them more shareable. They can be arranged on a platter with other desserts to create a tempting dessert table.
If you're looking to add a twist, consider drizzling the top with a white chocolate ganache or sprinkling crushed peppermint candies before the chocolate sets, enhancing both the appearance and flavor profile. A light dusting of powdered sugar just before serving can also give your bars an elegant finish.
Storage Tips
These bars can be stored in the refrigerator for up to a week, making them a great make-ahead treat. To keep them fresh, ensure that they are well-wrapped or stored in an airtight container. If you want to make them ahead for an event, they can be successfully frozen. Wrap individual bars tightly in plastic wrap, then place them in a freezer-safe container. When ready to enjoy, simply thaw in the refrigerator for a few hours before serving.
Avoid refreezing after thawing, as this can compromise the texture of the chocolate and mint layers. If you notice any condensation when removing them from the refrigerator, allow them to sit uncovered for a few minutes for the moisture to evaporate before serving. This small step helps maintain that crisp chocolate topping while keeping the bars chewy and soft inside.
Troubleshooting Common Issues
If your chocolate layer isn’t setting properly, ensure that you've melted it gently over low heat—too much heat can cause the chocolate to seize. If this happens, you can add a teaspoon of coconut oil to the chocolate to help it regain its smoothness. For the mint filling, if it's too runny, consider adding an extra tablespoon of powdered sugar to thicken it without affecting flavor, or refrigerate it for a bit longer before spreading.
Additionally, if your bars crumble when cutting, it might be due to insufficient chilling time for the layers to set properly. Be patient; allowing the bars to chill thoroughly is essential for clean cuts. If you don't have bittersweet or dark chocolate on hand, semi-sweet chocolate works well too, though it might make the bars a touch sweeter—adjust the sweetness of your filling accordingly!
Vragen Over Recepten
→ Can I use regular chocolate instead of dark chocolate?
Yes, milk chocolate can be used for a sweeter taste, but the flavor profile will differ.
→ How long do the bars last in the refrigerator?
They can last up to a week if stored in an airtight container in the fridge.
→ Can I add nuts to the recipe?
Absolutely! Chopped nuts like walnuts or almonds can add a nice crunch to the bars.
→ Is it necessary to chill the bars?
Chilling is important as it helps set the layers and makes the bars easier to cut.
Chocolate Mint Slice Bars
Gemaakt door: Kate Phillips
Recepttype: Dagelijkse bakrecepten
Vaardigheidsniveau: Beginner
Eindportie: 16 bars
Wat je Nodig Hebt
Chocolate Mint Slice Bars
- 200g digestive biscuits, crushed
- 100g unsalted butter, melted
- 300g dark chocolate, chopped
- 1 cup sweetened condensed milk
- 1/2 cup powdered sugar
- 1 tsp peppermint extract
- Green food coloring (optional)
- Extra chocolate for drizzling
Stappen
In a bowl, mix the crushed digestive biscuits with melted butter until well combined. Press this mixture into the bottom of a lined baking pan, creating a compact layer. Chill in the refrigerator for 10 minutes.
In a separate bowl, combine sweetened condensed milk, powdered sugar, peppermint extract, and green food coloring (if using). Mix until smooth, then spread the filling over the chilled biscuit base.
Melt the dark chocolate in a microwave or double boiler, then pour over the mint layer. Spread it evenly and chill again until set, about 20 minutes. Once set, drizzle with extra melted chocolate if desired.
Remove from the pan and cut into bars. Serve chilled and enjoy the refreshing taste of chocolate and mint.
Extra Tips
- For best results, ensure your ingredients are fresh and chill the bars properly before serving. You can substitute the butter with coconut oil for a dairy-free version.
Voedingswaarde (Per Portie)
- Calories: 200 kcal
- Total Fat: 12g
- Saturated Fat: 7g
- Cholesterol: 20mg
- Sodium: 90mg
- Total Carbohydrates: 22g
- Dietary Fiber: 1g
- Sugars: 10g
- Protein: 2g